What this is for#
Clearout checks whether an address can actually receive mail, and hands back a safe-to-send verdict for each one. You connect it once, then clean any list from that list's own Email verification tab. Budget about ten minutes for the setup.
Before you start#
- A Clearout account. Sign up at clearout.io — a new account starts with 100 free credits and no card, which is enough to verify a small list end to end.
- Access to the Verification Servers screen. The screenshots below are the admin area (Verification Servers, under Sending). Customers whose plan lets them bring their own service add it at Sending → Verification servers instead, where the same three fields are labelled Verification service, Max verifications and Per time base.
- A queue worker covering the
high queue. Clearout verifies a whole list in a single upload, and that run is queued as high priority. A worker started with --queue=high,default covers it.
Step 1 — Add Clearout as a verification server#
Open Verification Servers and click Add server (top right). The Add verification server popup lists every service that ships with a driver — type clear in the search box to narrow it to one.
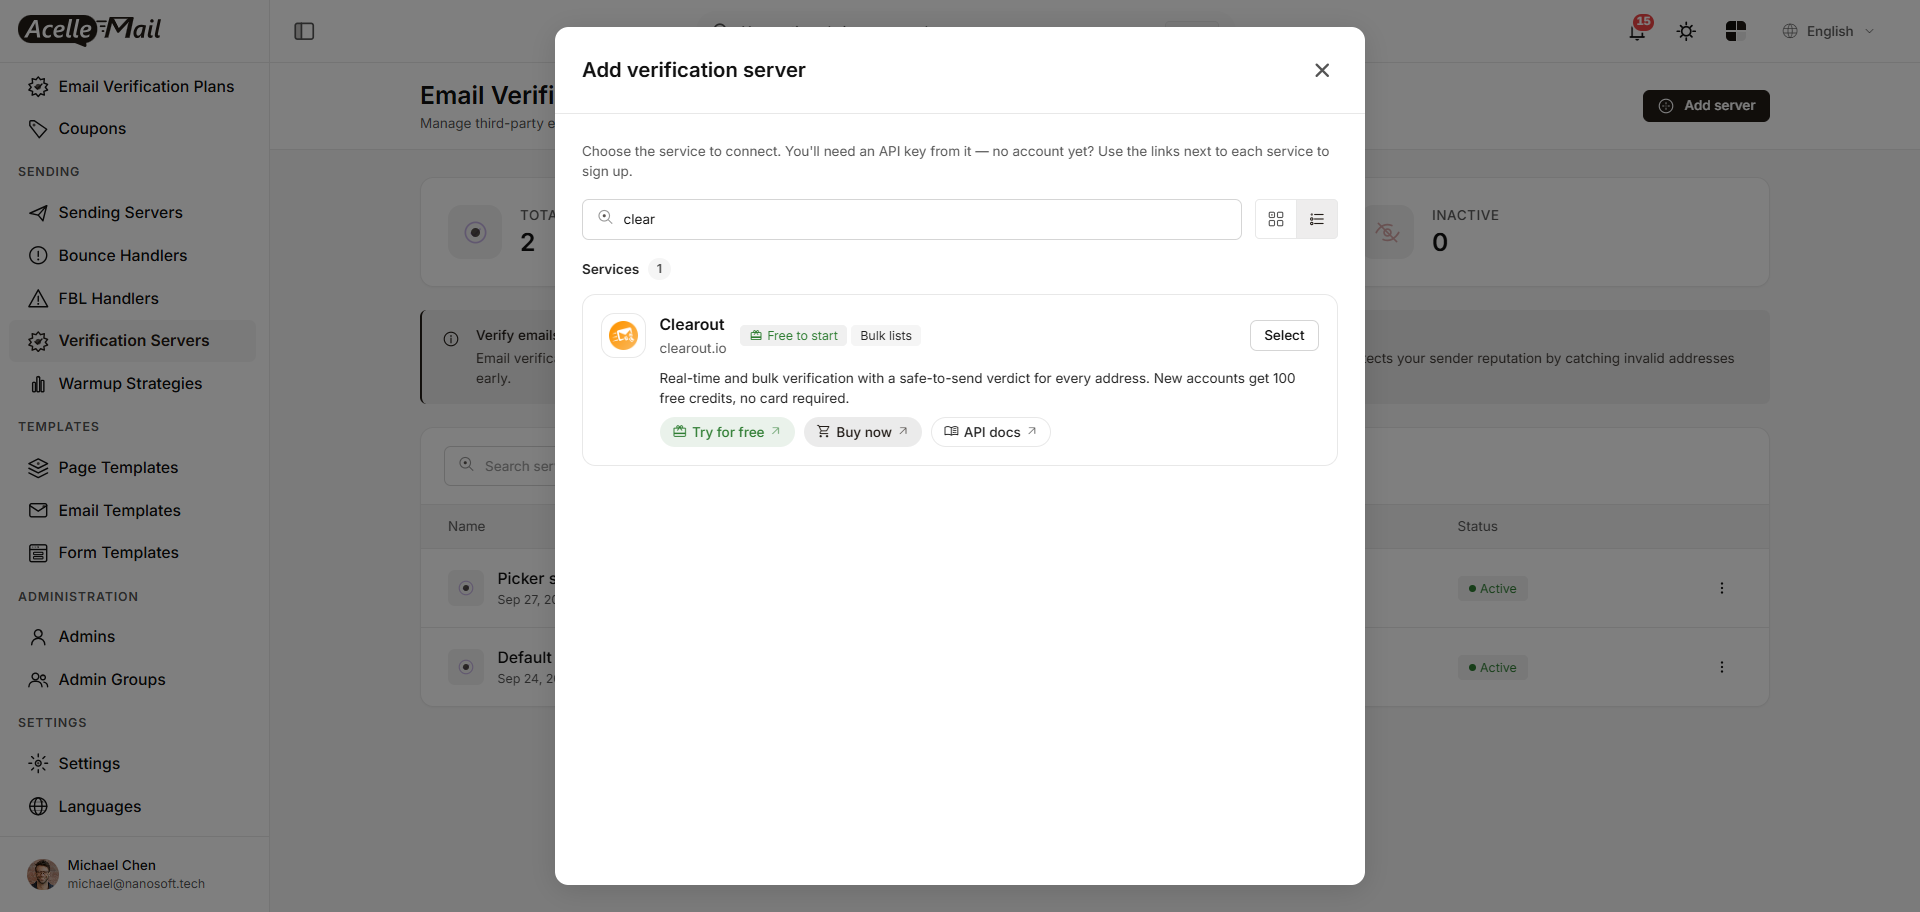
Two badges on the card matter. Free to start is the free credits. Bulk lists means Clearout takes your whole list in one upload rather than one address per API call — that is why a large list finishes in one run instead of trickling through. Try for free, Buy now and API docs open Clearout's own pages in a new tab.
Click Select.
Step 2 — Create an API token in Clearout#
Leave the popup open and sign in to Clearout in another tab. Go to Developer → API, the page headed Manage your API Tokens, and click + Create API Token.
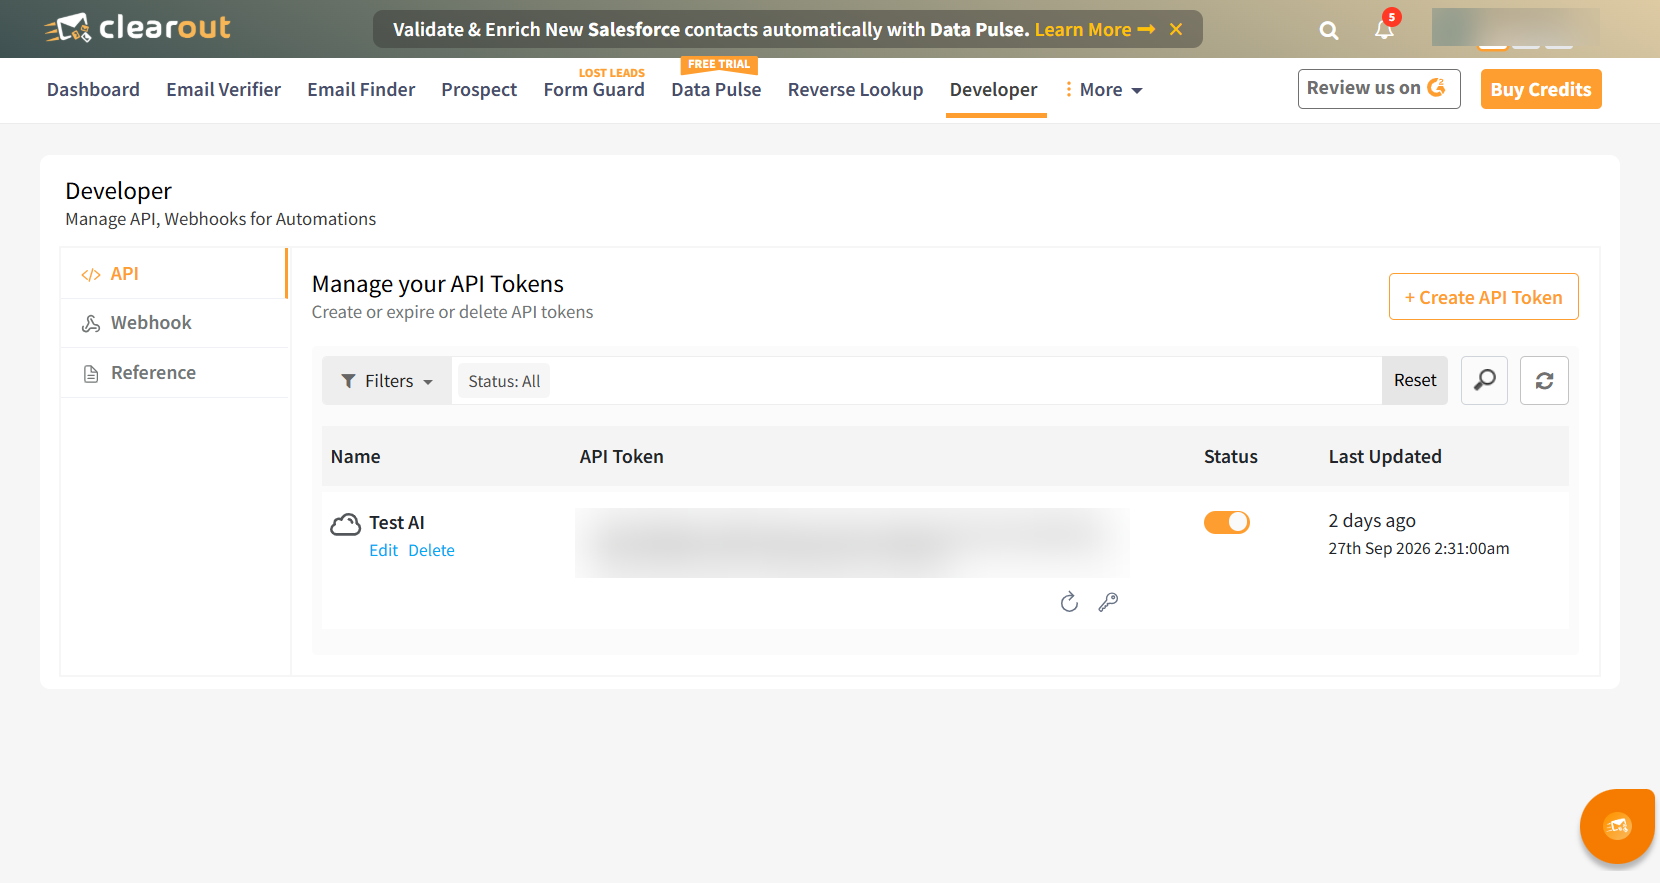
Name the token something you will recognise in six months (the one above is Test AI), then copy it. Two things to watch:
- Copy the whole string. A Clearout token is one long value with a colon in the middle. Both halves are part of it.
- Leave the Status toggle on. A disabled or expired token is not rejected when you save it in AcelleMail — it fails later, when a run calls Clearout.
Step 3 — Paste the token and set a credit limit#
Back in AcelleMail, the form now shows the fields Clearout needs.
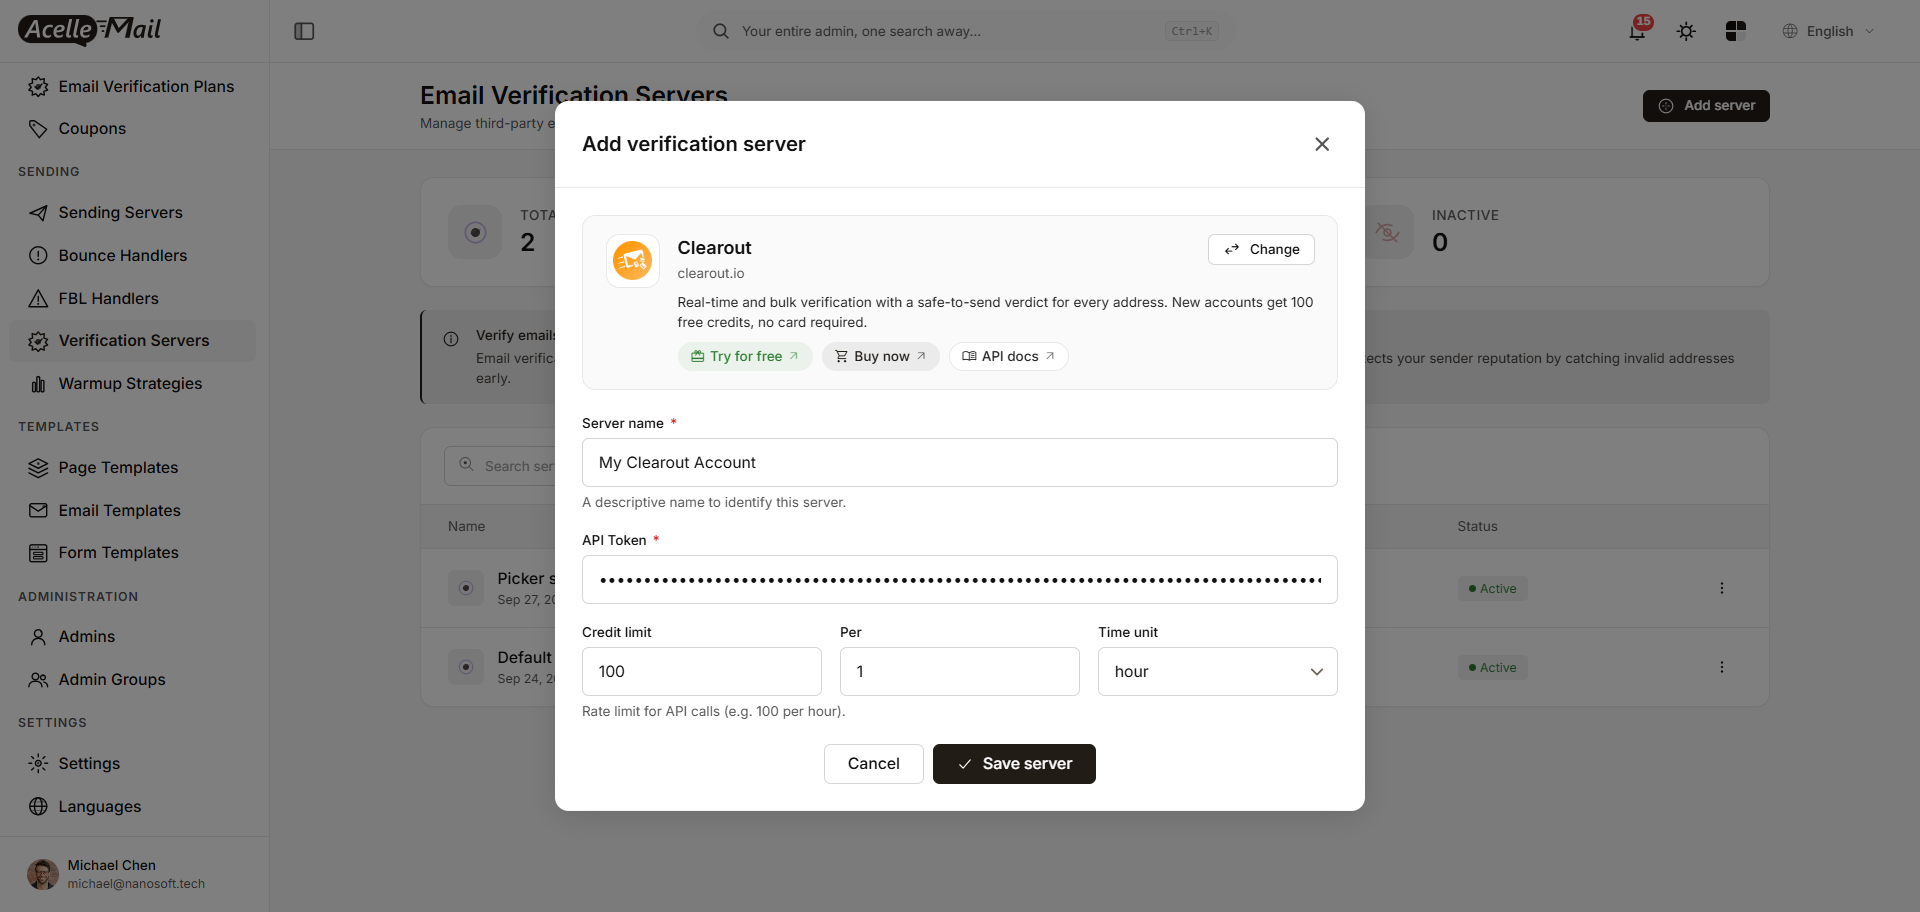
- Server name — a descriptive name to identify this server. It is what you pick from the dropdown in Step 5.
- API Token — paste the token you just copied. It is a password field, and nothing calls Clearout when you save, so a wrong token stays invisible until a run uses it.
- Credit limit, Per, Time unit — a rate limit on the API calls this server makes, for example
100 per 1 hour. It exists to protect your Clearout credits from a runaway run on a big list.
Clearout throttles on its own side too — the free plan allows three instant checks a minute. A run that hits either limit waits and retries rather than failing.
Click Save server.
Step 4 — Open the list you want to clean#
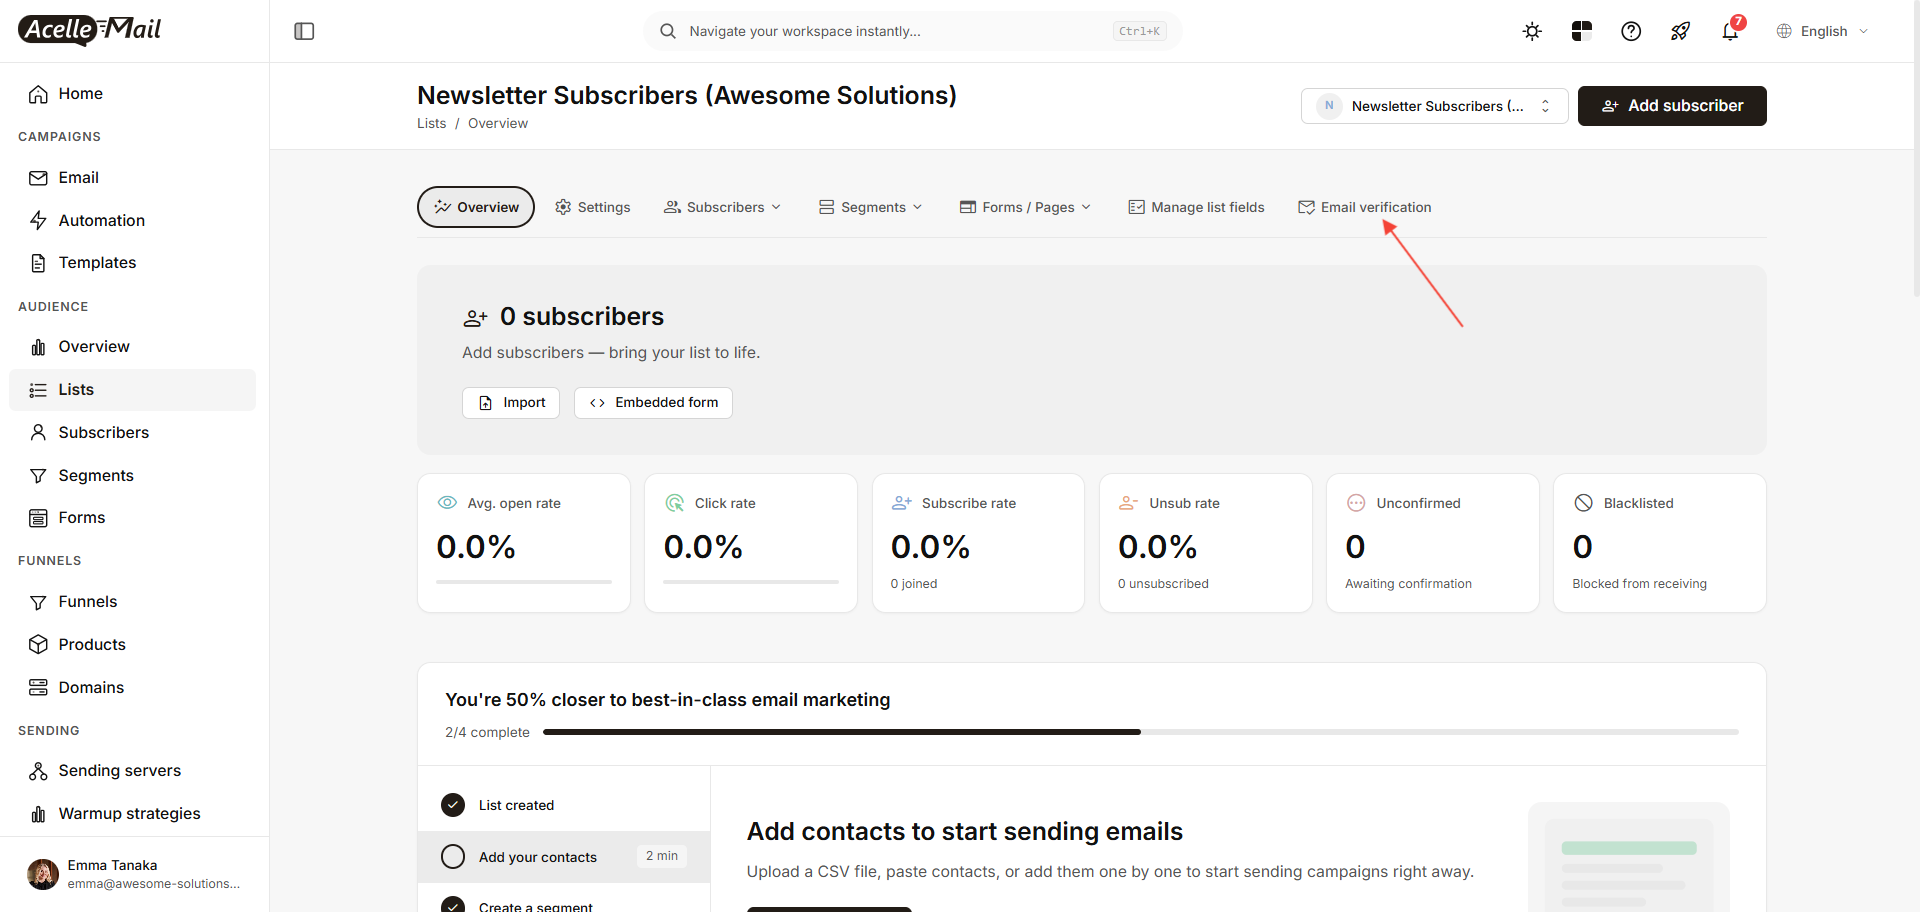
Go to Lists, open the list, and click the Email verification tab.
Step 5 — Pick the Clearout server and start the run#
The four cards at the top tell you where you stand before you spend a credit: Total subscribers, Verified, Unverified, and Credits available.
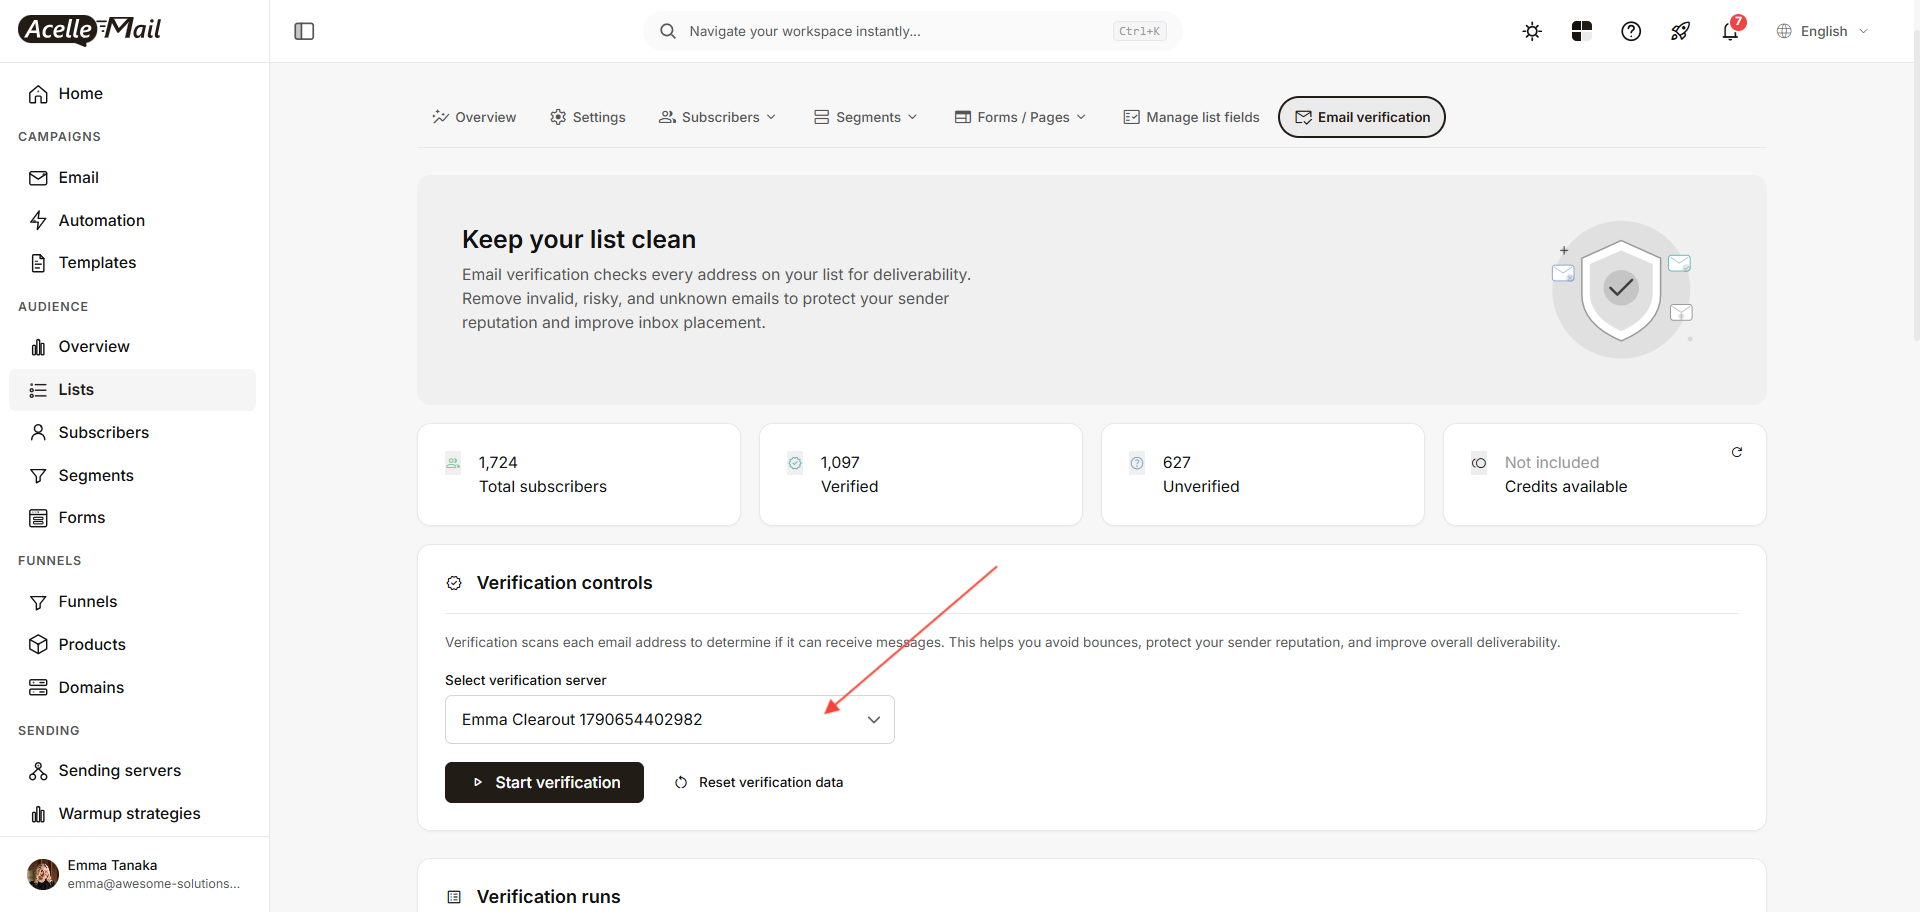
Credits available is your AcelleMail plan's verification allowance, not your Clearout balance — it reads Not included when your plan grants none, which is normal when you connected your own Clearout account. The balance that a run actually draws on is the one in your Clearout dashboard.
Under Verification controls, choose your Clearout server in Select verification server, then click Start verification. The run covers every contact that has never been checked; contacts with a verdict already are skipped. To check those again, go to the Subscribers tab, filter or tick the ones you want, and start the run from the Actions menu there.
Progress appears in the Verification runs table below the controls. Because Clearout takes the list as one upload, a run sits at Queued / Running while Clearout works through the file, then fills in the verdicts at the end — a quiet progress bar is not a stuck one.
Step 6 — Read the verdicts#
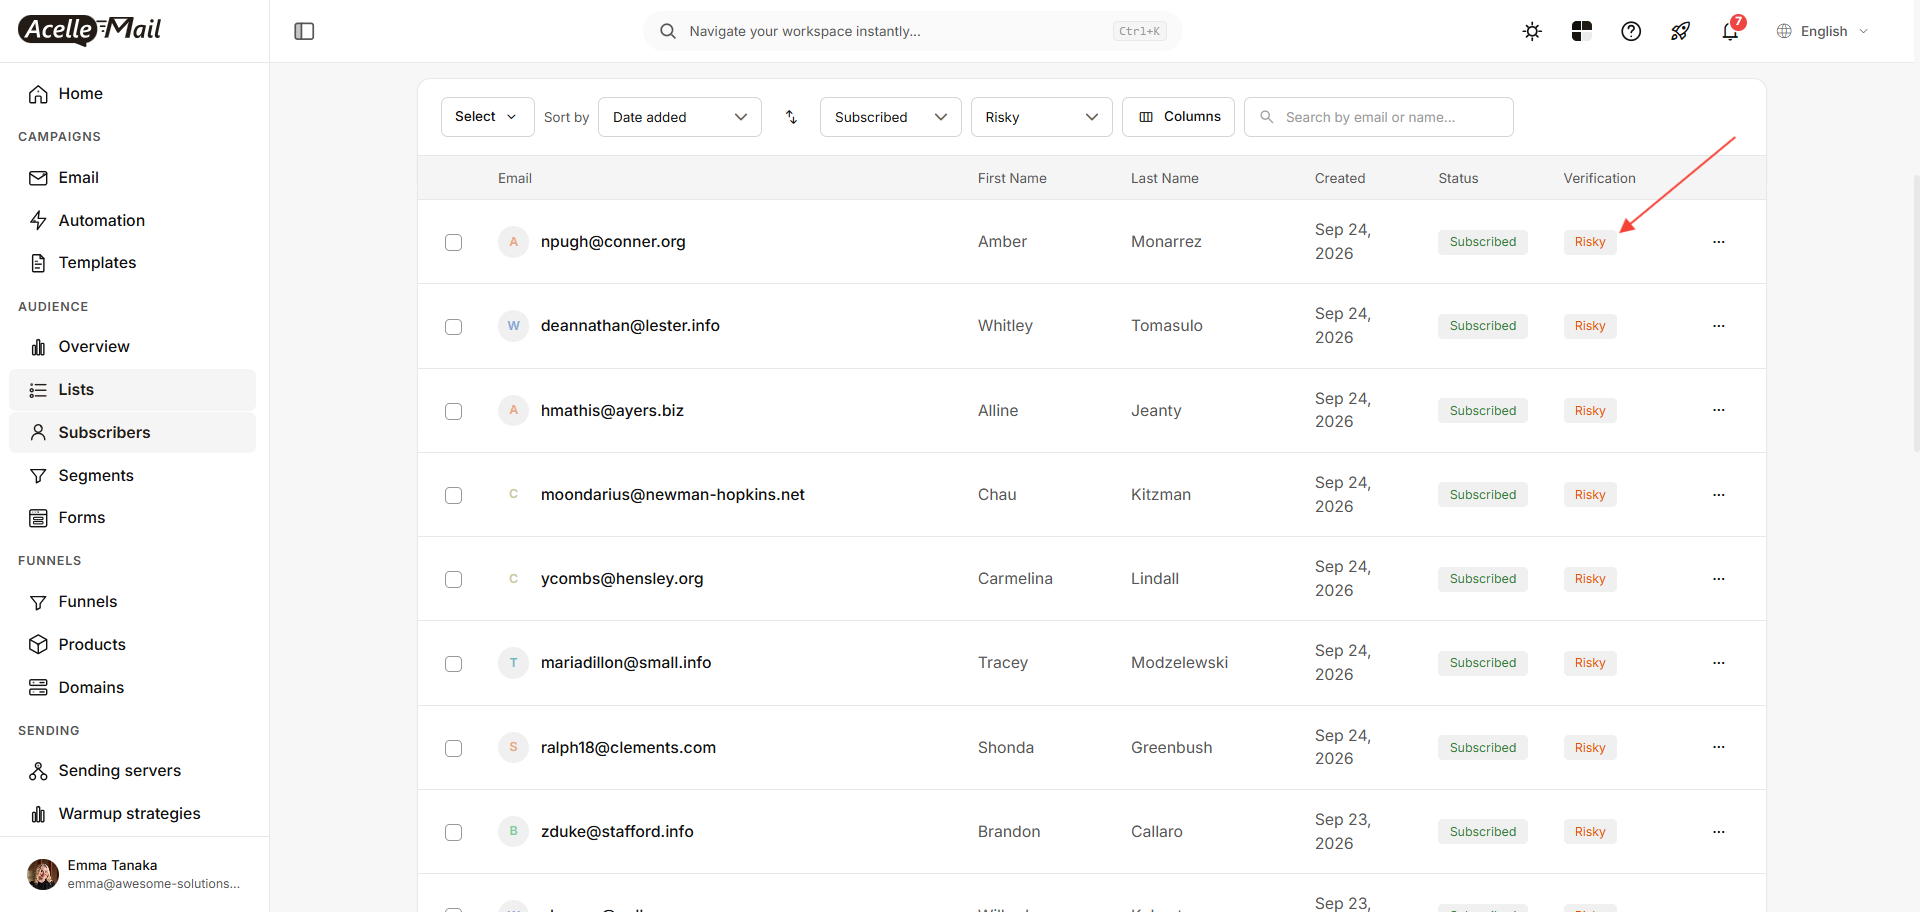
Open the Subscribers tab. Every row now carries a Verification badge, and the toolbar filter narrows the table to one verdict at a time.
| Badge |
What Clearout found |
What to do |
| Deliverable |
Safe to send. |
Mail them. |
| Risky |
A role address (info@, support@), a catch-all domain that accepts everything, a gibberish local part, or a known spam trap. |
Hold them back from your main sends. |
| Undeliverable |
The mailbox or the domain does not exist — or it is a disposable address. |
Remove them. |
| Unknown |
No definite answer, or the address sits on your Clearout allow/block list, which Clearout skips instead of checking. |
Re-check later. |
The one that surprises people: a disposable address (mailinator.com and its cousins) comes back Undeliverable even though the mailbox exists right now. That is Clearout's send verdict rather than a syntax check, and for a marketing list it is the answer you want.
Common issues#
| What you see |
What to do |
| Clearout: missing api_key in server options |
The server was saved without a token. Open Verification Servers → Edit, paste it again, and check for a trailing space. It appears when a run starts, never when you save. |
| The run fails with a message quoting Clearout (List is not available, a daily limit) |
Clearout refused the job — usually credits exhausted or a plan limit. Check the balance in the Clearout dashboard, then start the run again. |
| No verification server available. Please contact your administrator. |
The account has no verification server of its own and the plan grants none. Add one as admin, or enable email verification on the customer's plan. |
| The run stays at 0% and nothing moves |
No worker is consuming the high queue. Start one with --queue=high,default. |
| Credits available reads Not included |
That card is your plan's allowance, not Clearout's. A run on your own Clearout server is paid for with Clearout credits. |
What to do after#
